Tug Guards for Nosewheel RVs (pair)
Tug Guards for Nosewheel RVs (pair)
47 in stock
Couldn't load pickup availability
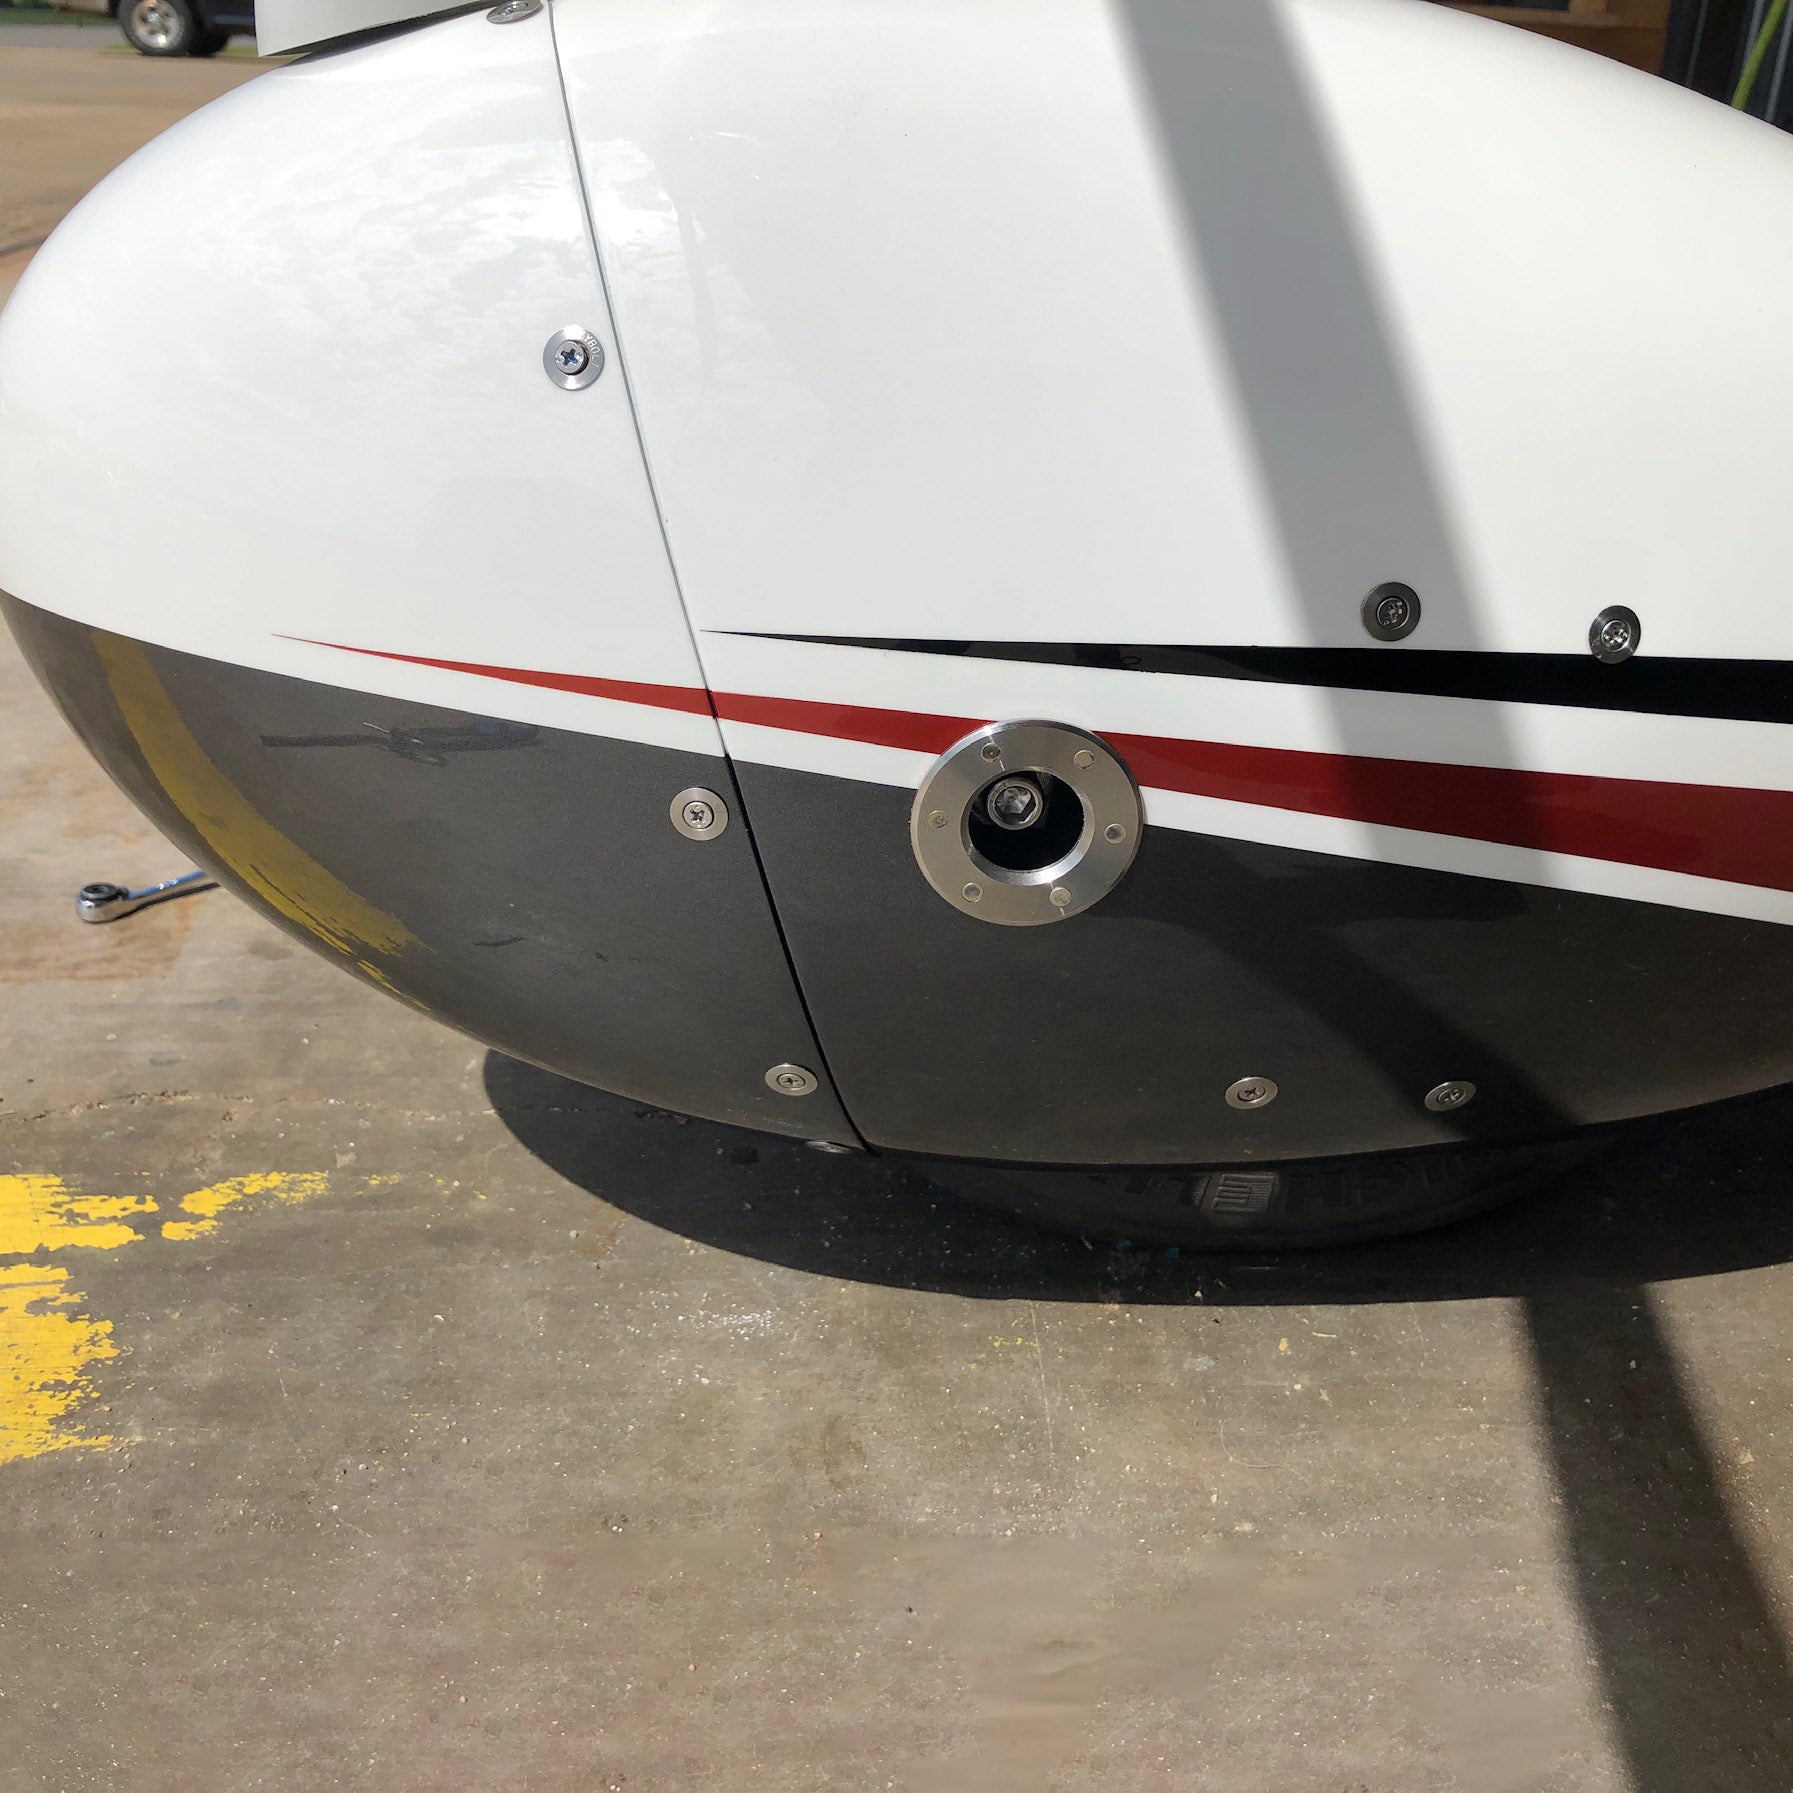
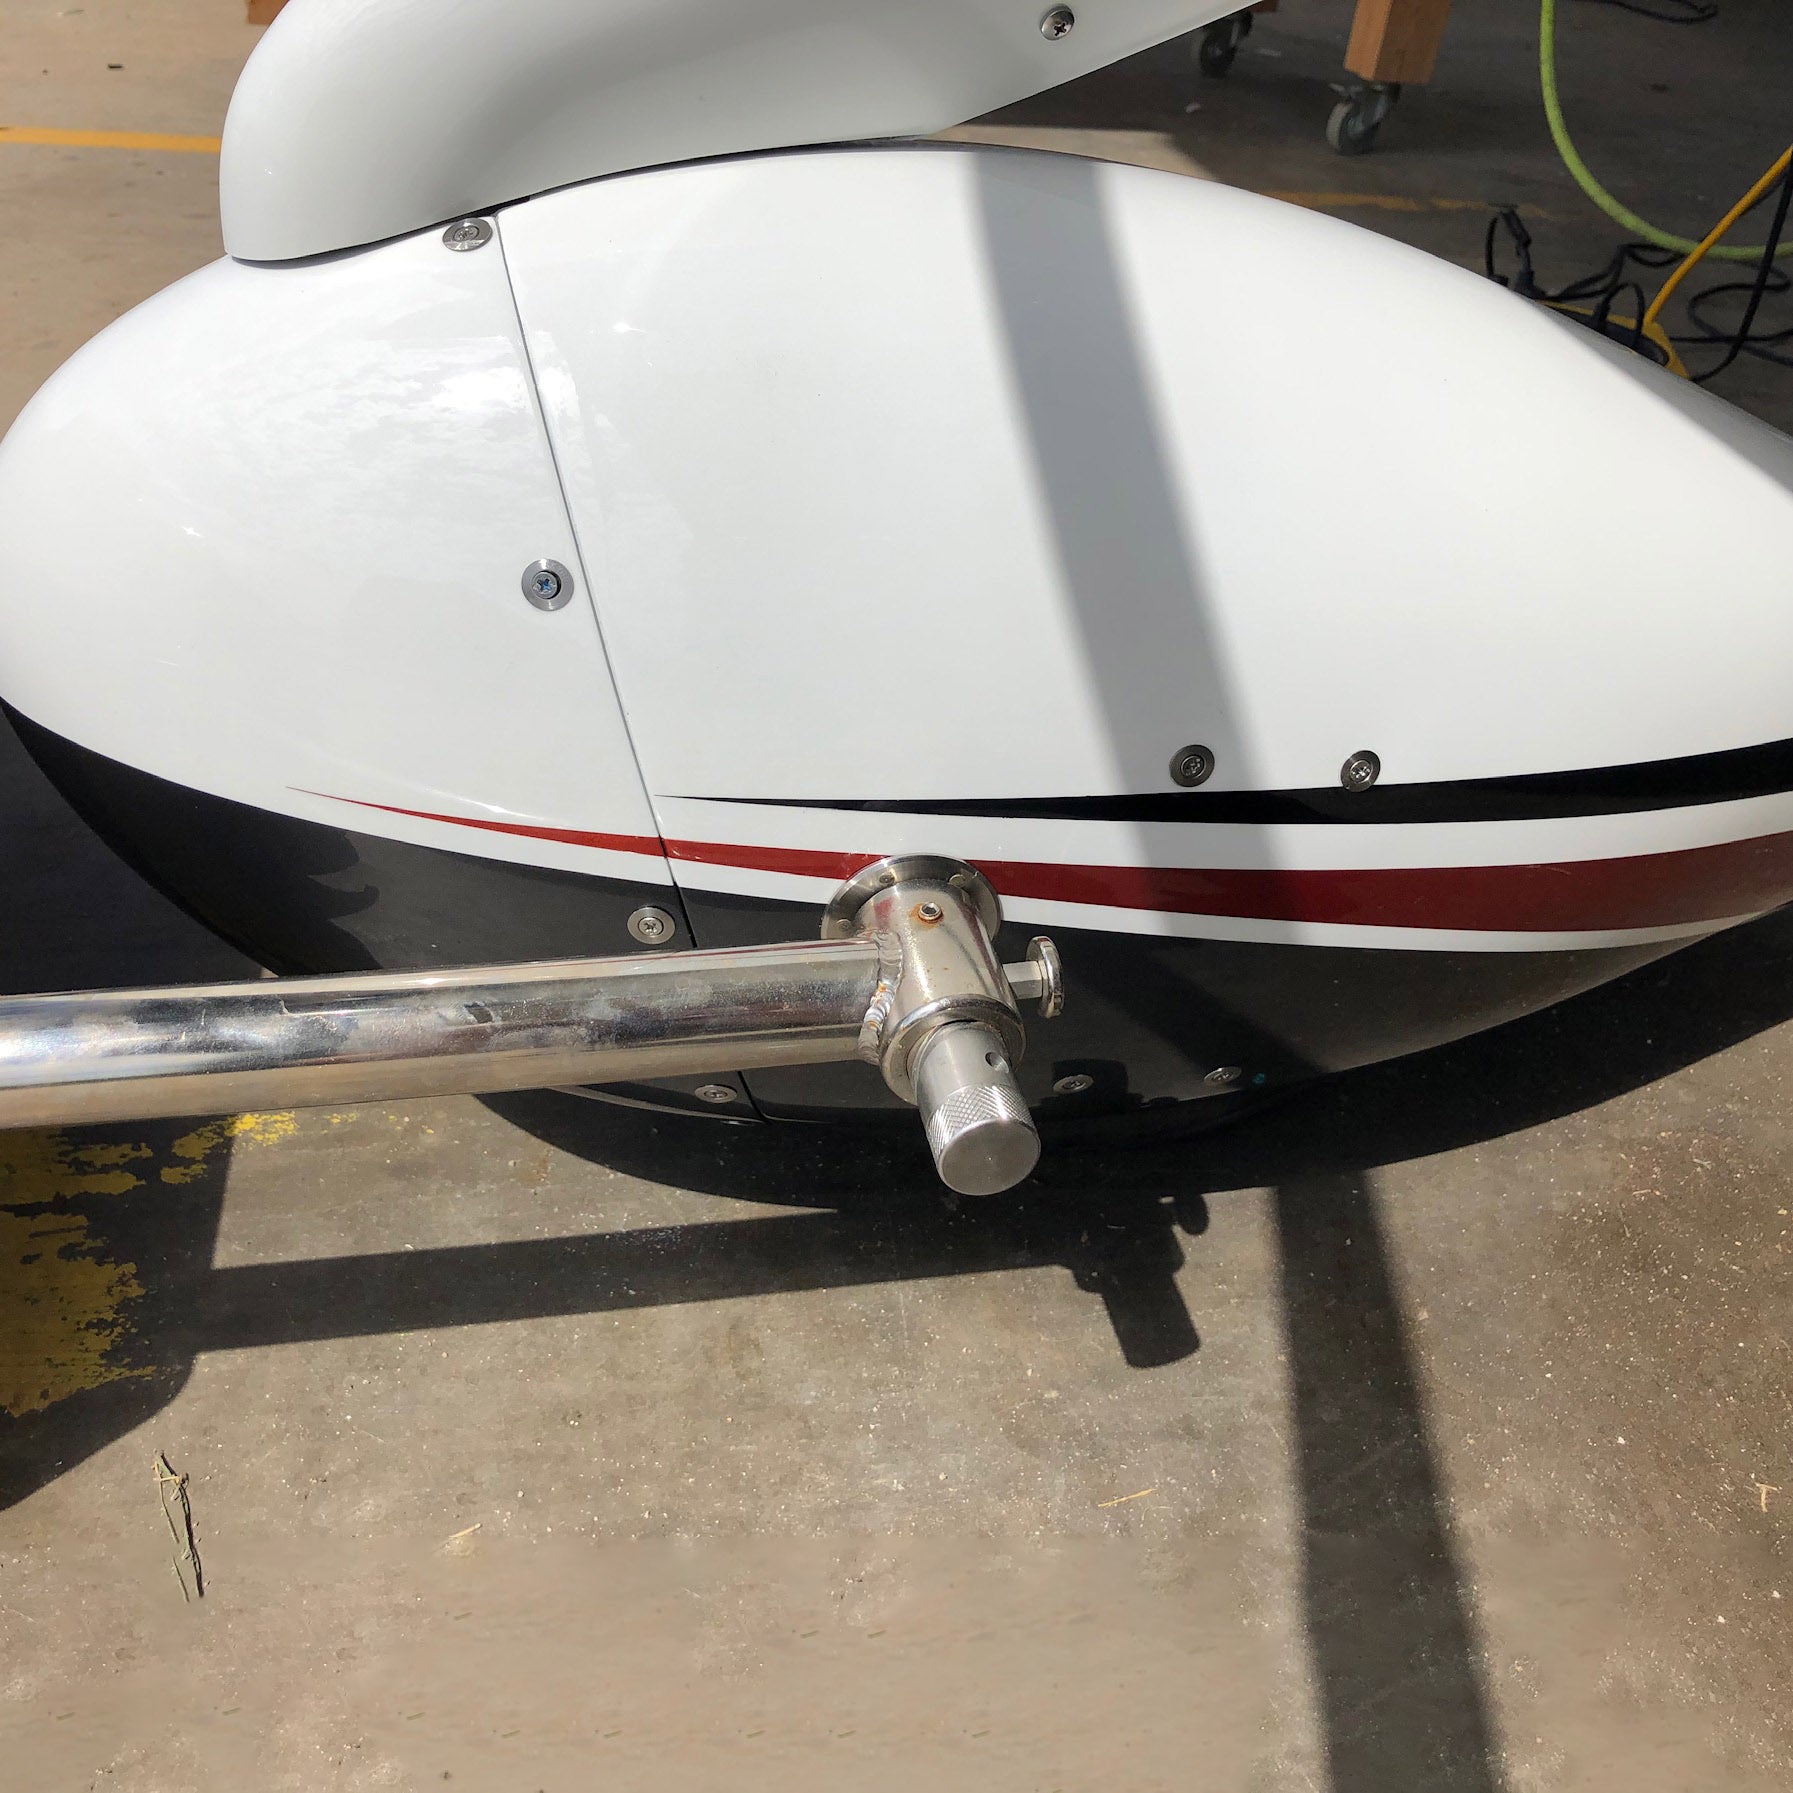
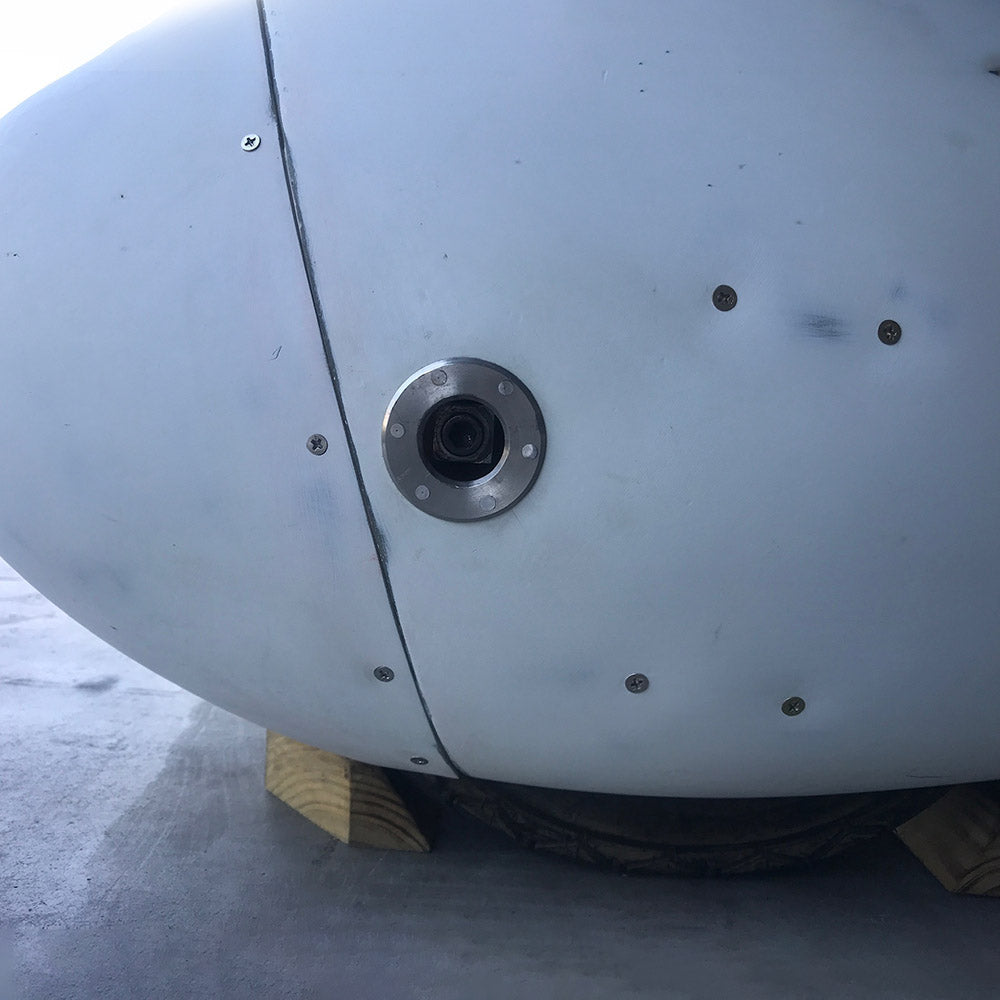
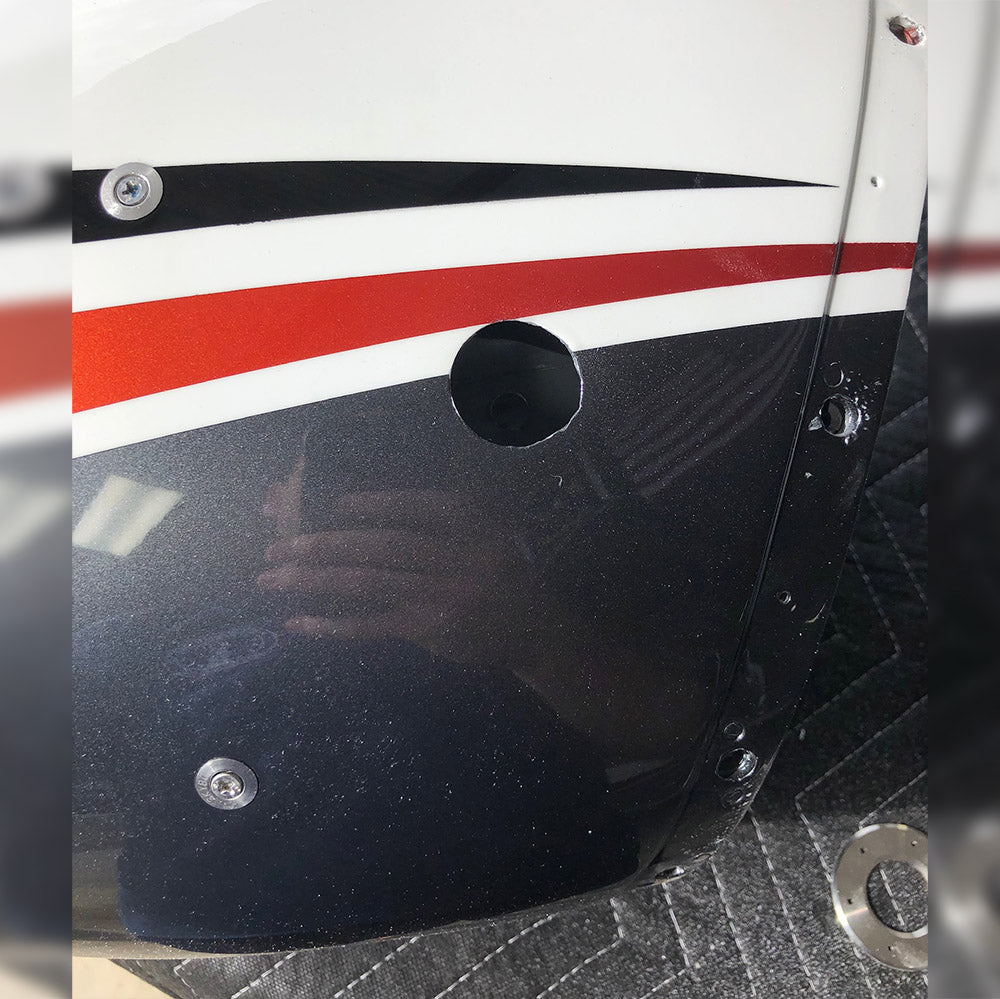
Spruce up your wheel pants with stainless steel Tug Guards. Rivet these in place over the hole for the tug attach point in your nosewheel pants to protect your paint.
This item ships as a pair and includes 2 tug guards and 2 aluminum doublers for installation.
Hole ID is 1.185″, and installs in a hole roughly 1-5/16. OD of tug guard is 2.1″
Available with predrilled holes for 3/32 rivets (countersunk or non-countersunk), or available without predrilled mounting holes.
View instructions for this product here.
NOTE ON FIT: check the location of your tow bar attach holes in relation to the seam between the wheel pant halves. This product was designed with the RV-10 in mind, and we have had a few folks tell us that the seam on the RV-7A wheel pants is much closer to the hole, causing the Tug Guard to overlap the seam. You may or may not find the same issue with RV-6A, 8A, or 9A, but please take a look before ordering.
Share


Very nice...quality almost consistent with the price. Sadly, I just assumed that the nose gear tug holes on all of the RV wheel pants were standardized, but on my RV-9A, they're 1.5 inch diameter and these helpful devices won't fit. Not Flyboy's fault, certainly. My bad.
Saw your nose wheel fairing shields on many RVs at Sun N Fun this week. They look great!
Easy to install and look great! Enlarged hole with dremel.
Very easy to install with the wheel pant completely disassembled. Enlarge the hole in the wheel pant slightly larger than the tug guard. Use standard riveting technique.
Tug guards worked out well but had to improvise a bit to install them. First, the hole cannot be enlarged with a step drill bit as the mounting bracket that is glassed on inside blocks the hole, ( no room for drill bit to extend thru). So I just drilled the mounting holes, clecoed the guard on, and enlarged the hole to fit using a dremel tool.
Second issue: could not get a bucking bar inside due to the bracket. Appeared that I was only going to be able to buck maybe three of the 6 rivets. So I just attached the guard with countersunk screws and nuts. ( Had to enlarge the countersinks alittle to get the screws to fit flush). Worked out well and looks good!